

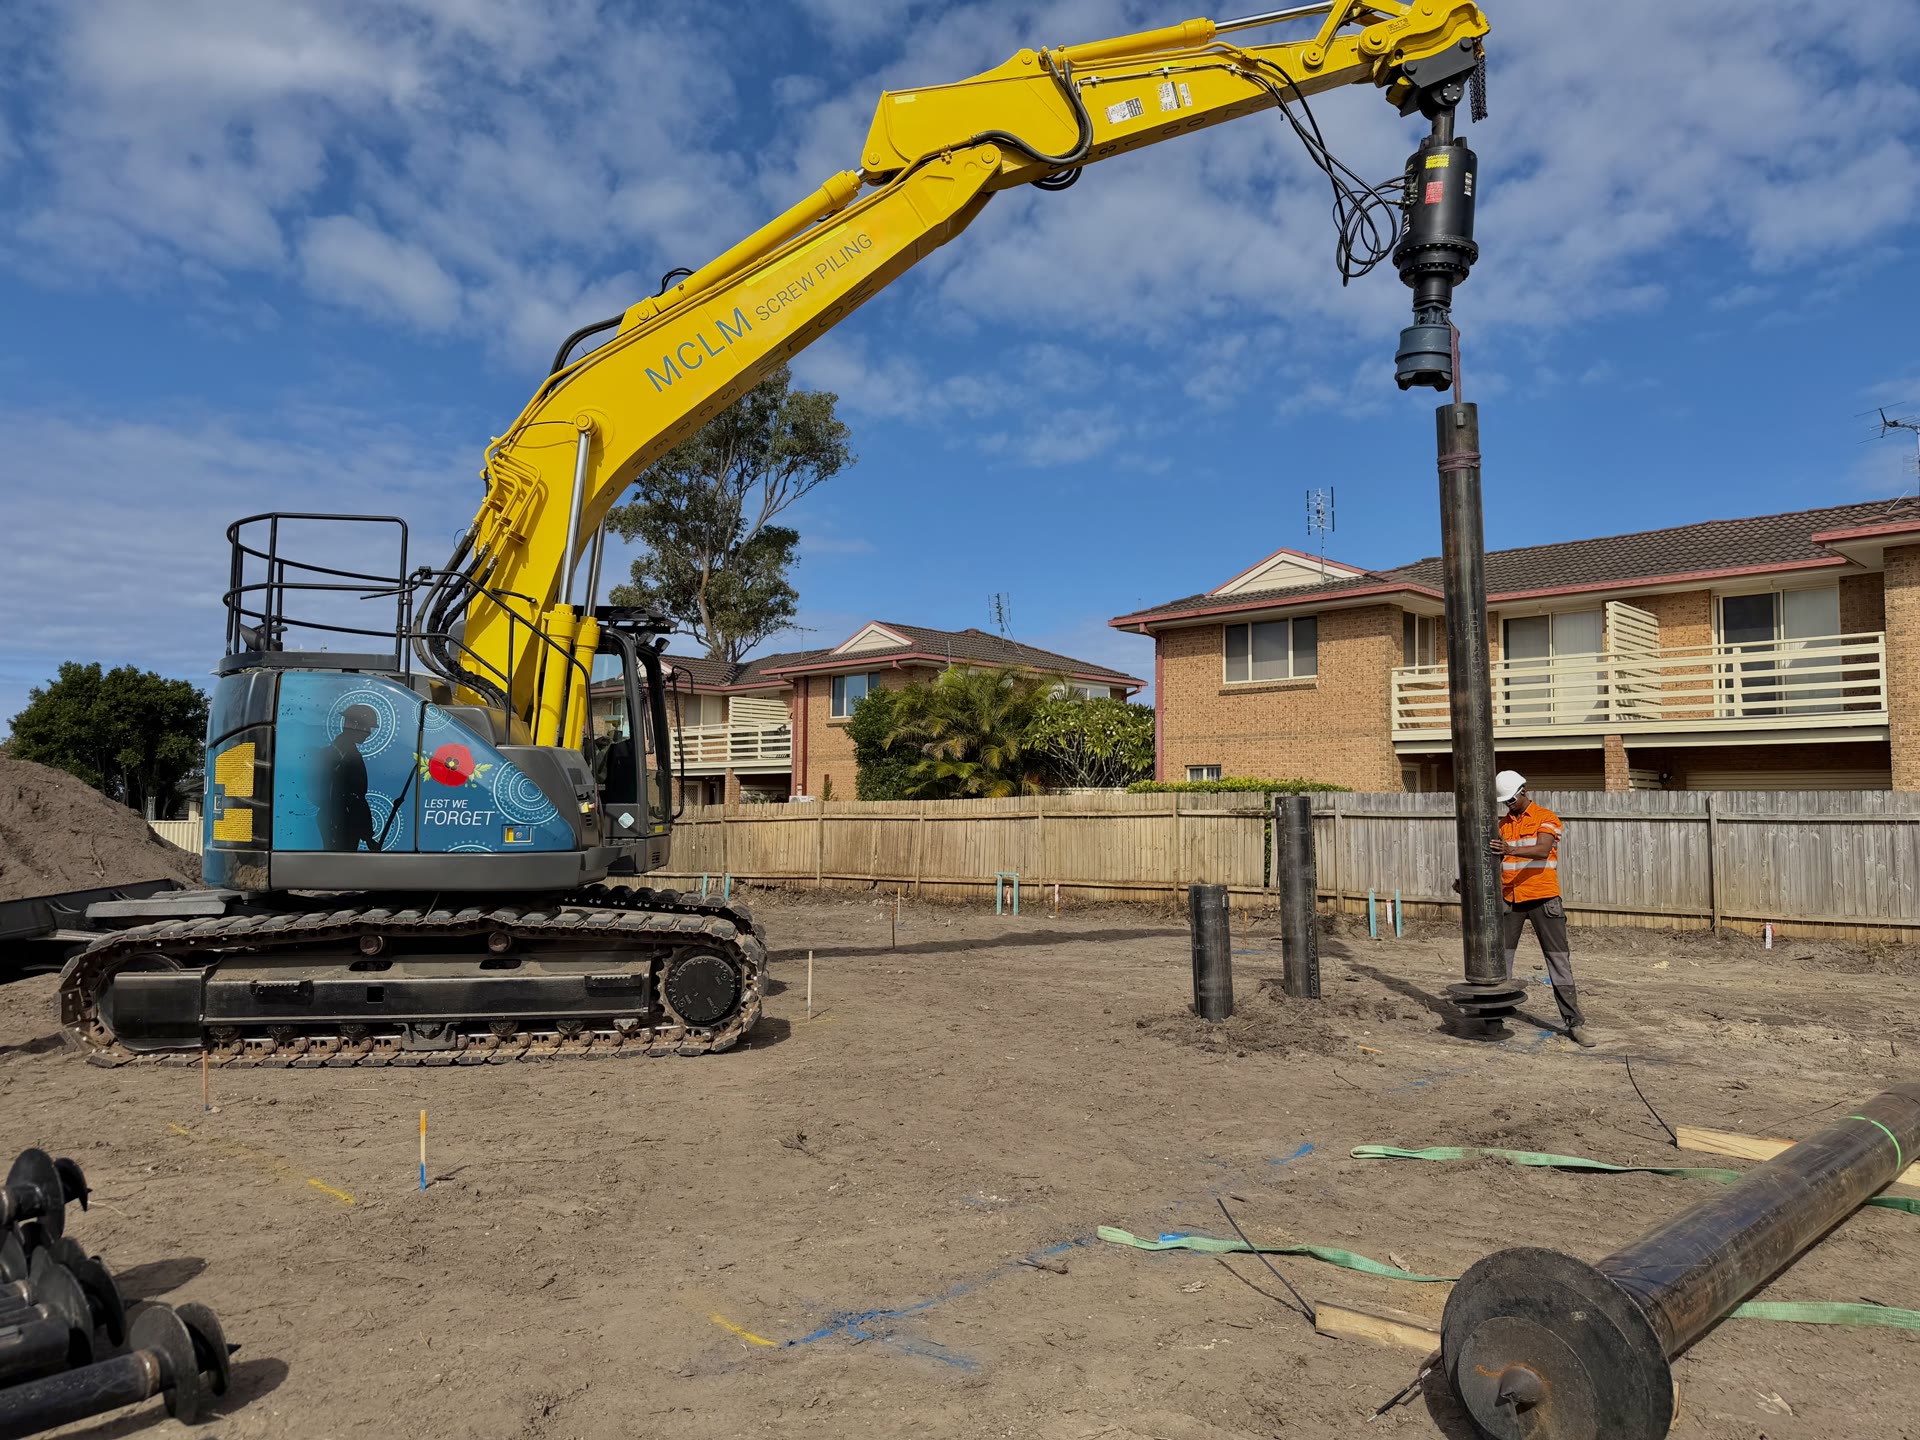
Stage 01
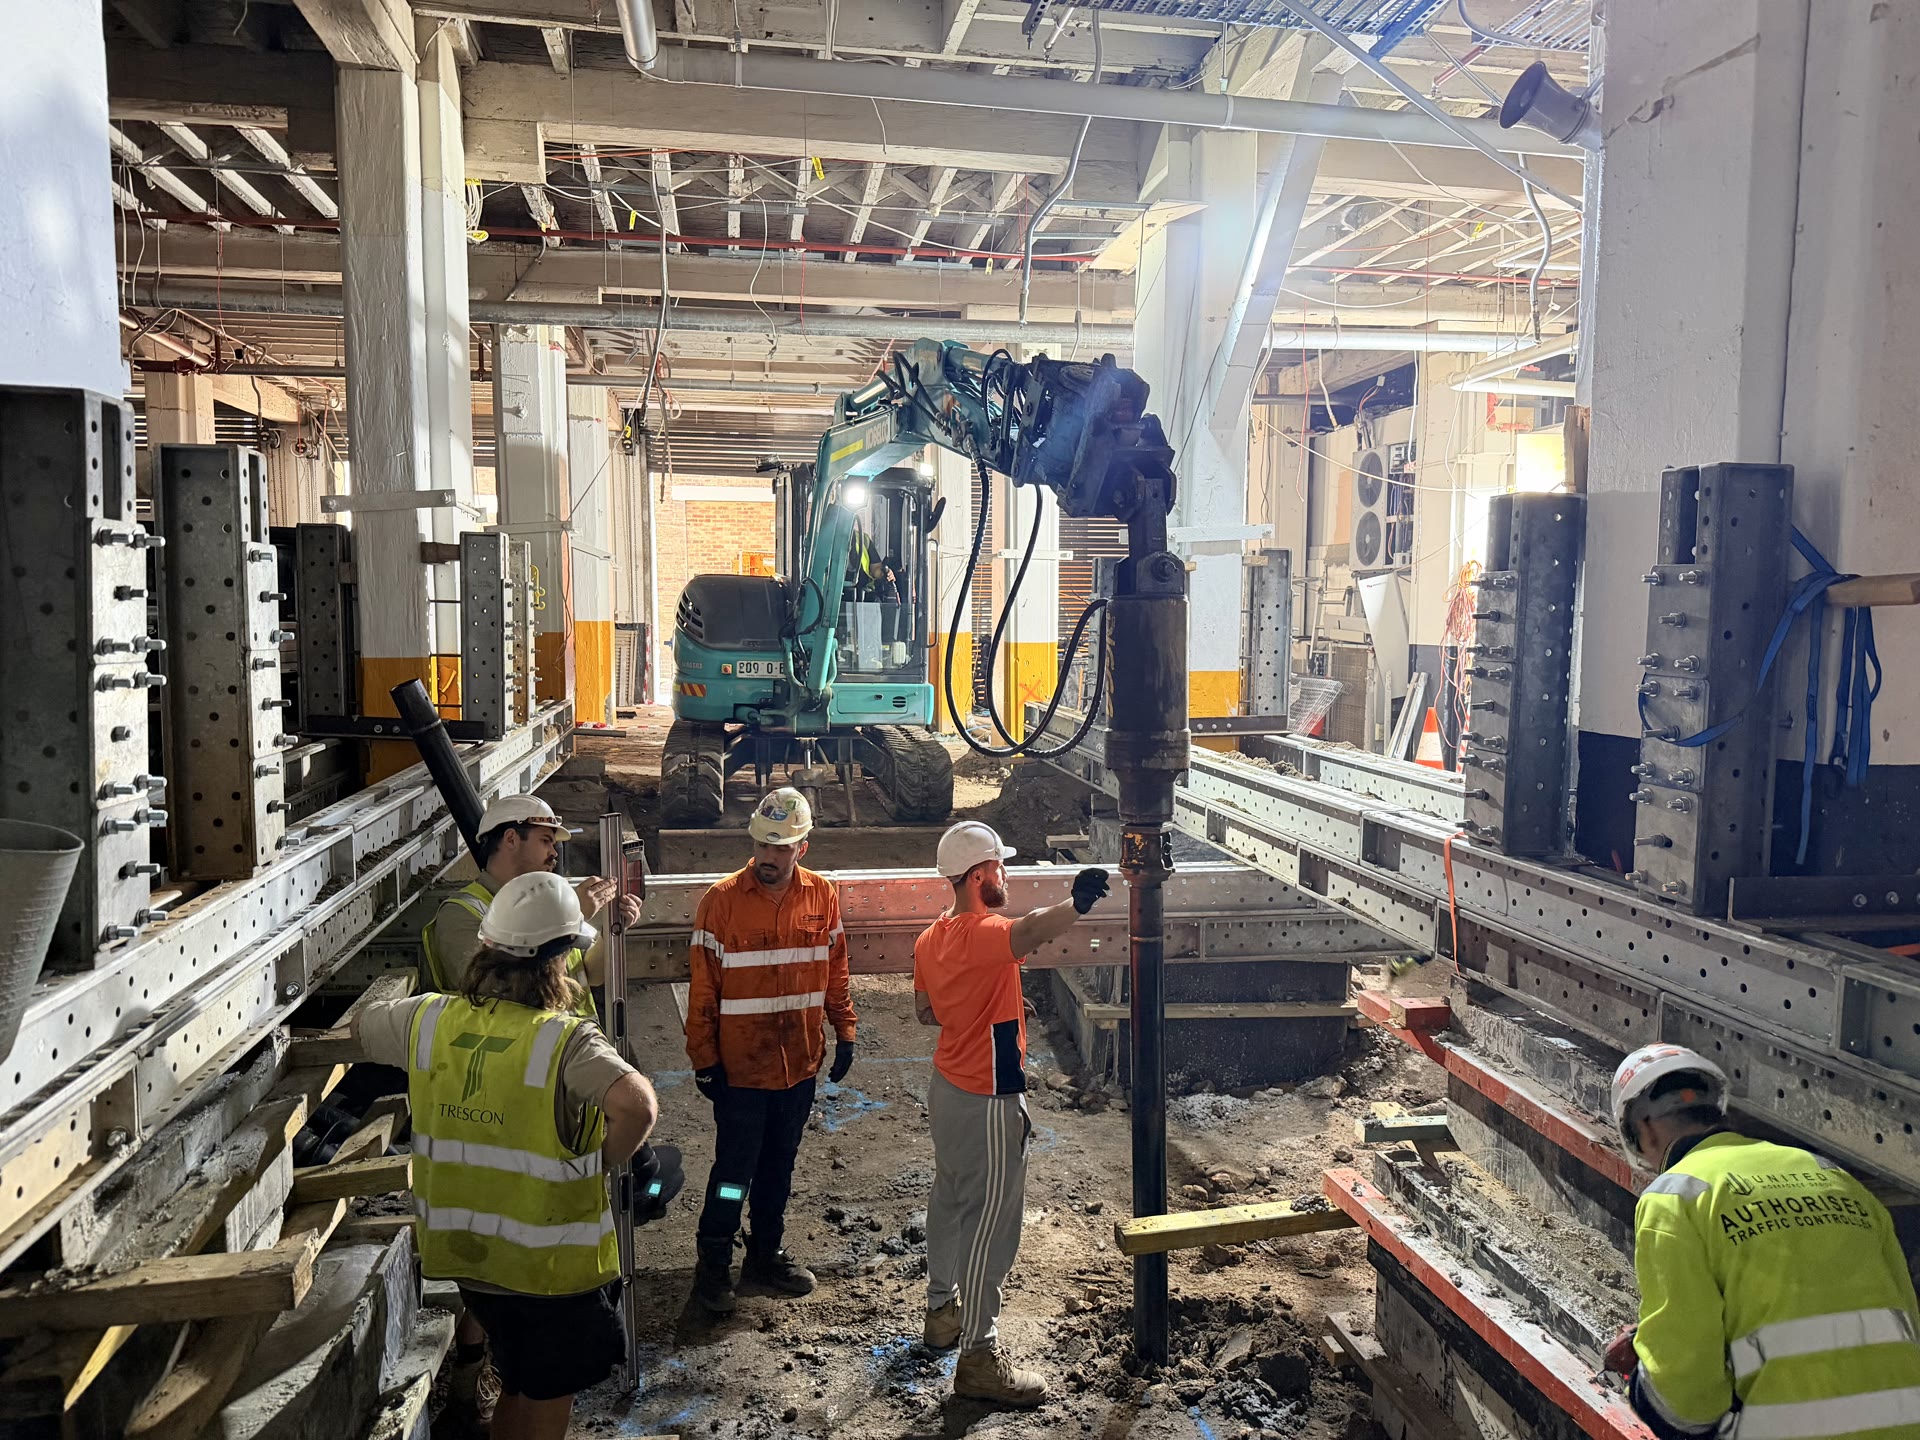
On-site installation
Installed quickly, cleanly and with minimal disruption. No curing time and no heavy concrete machinery.
Hydraulic installation
Rotate. Advance. Load.
Sequence / 01–03
A patented cast-steel helix rotates into the ground with subtle movement in the surrounding soil. An illustrative cutaway shows the installation below ground with motion condensed. Site preparation and excavation depend on site conditions. This film has no audio.
Installation method
Stage 01
Stage 02
The helical flights draw the pile down through the soil.
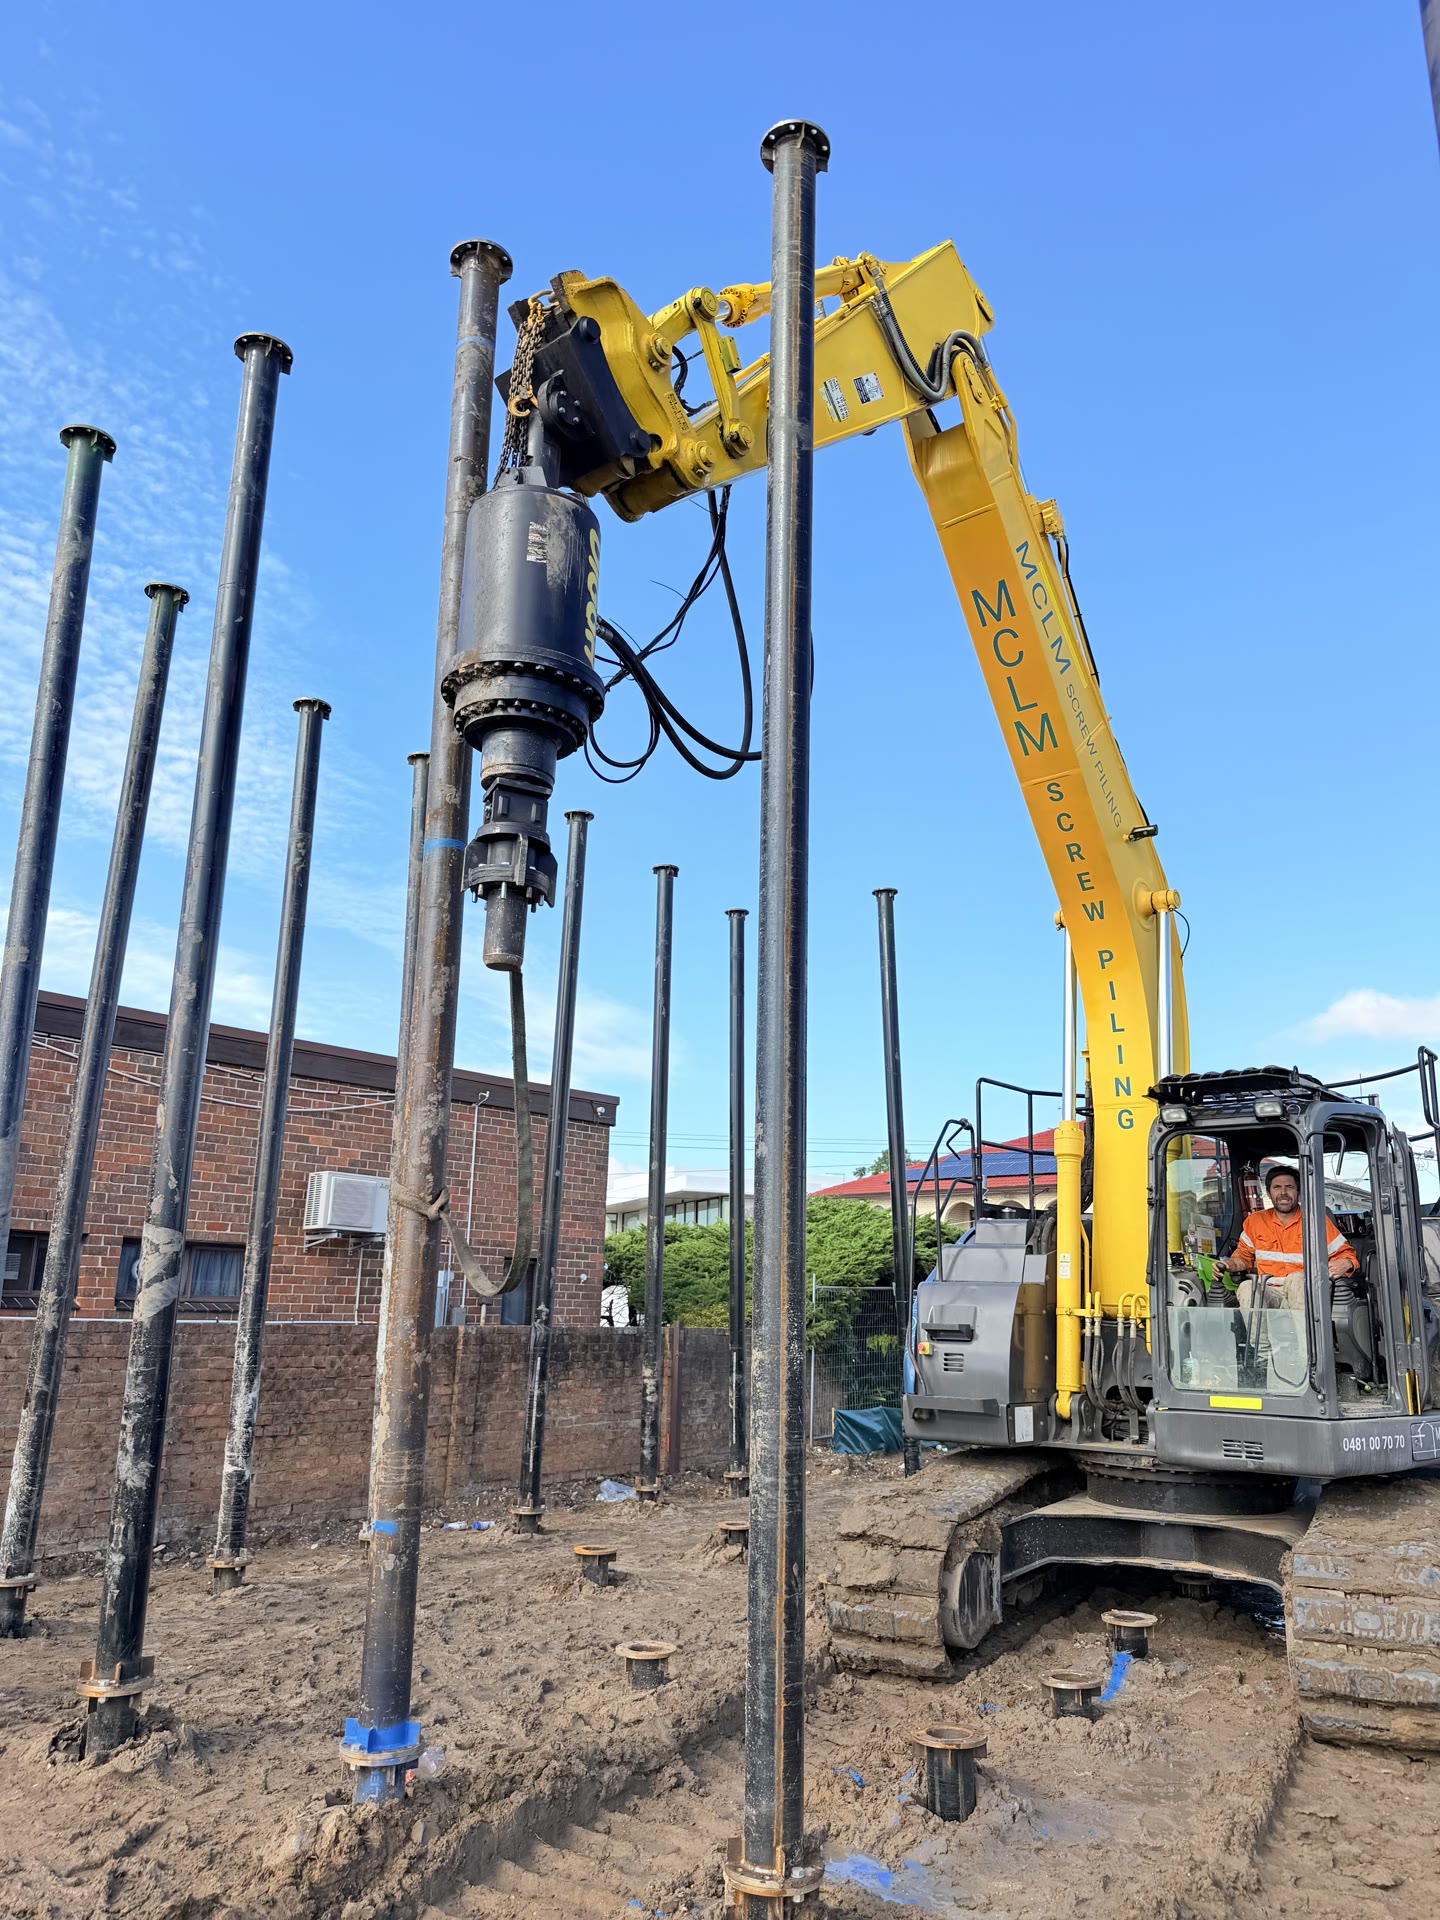
Stage 03
At the required depth, loading can begin immediately, with no concrete curing time.
Ground conditions
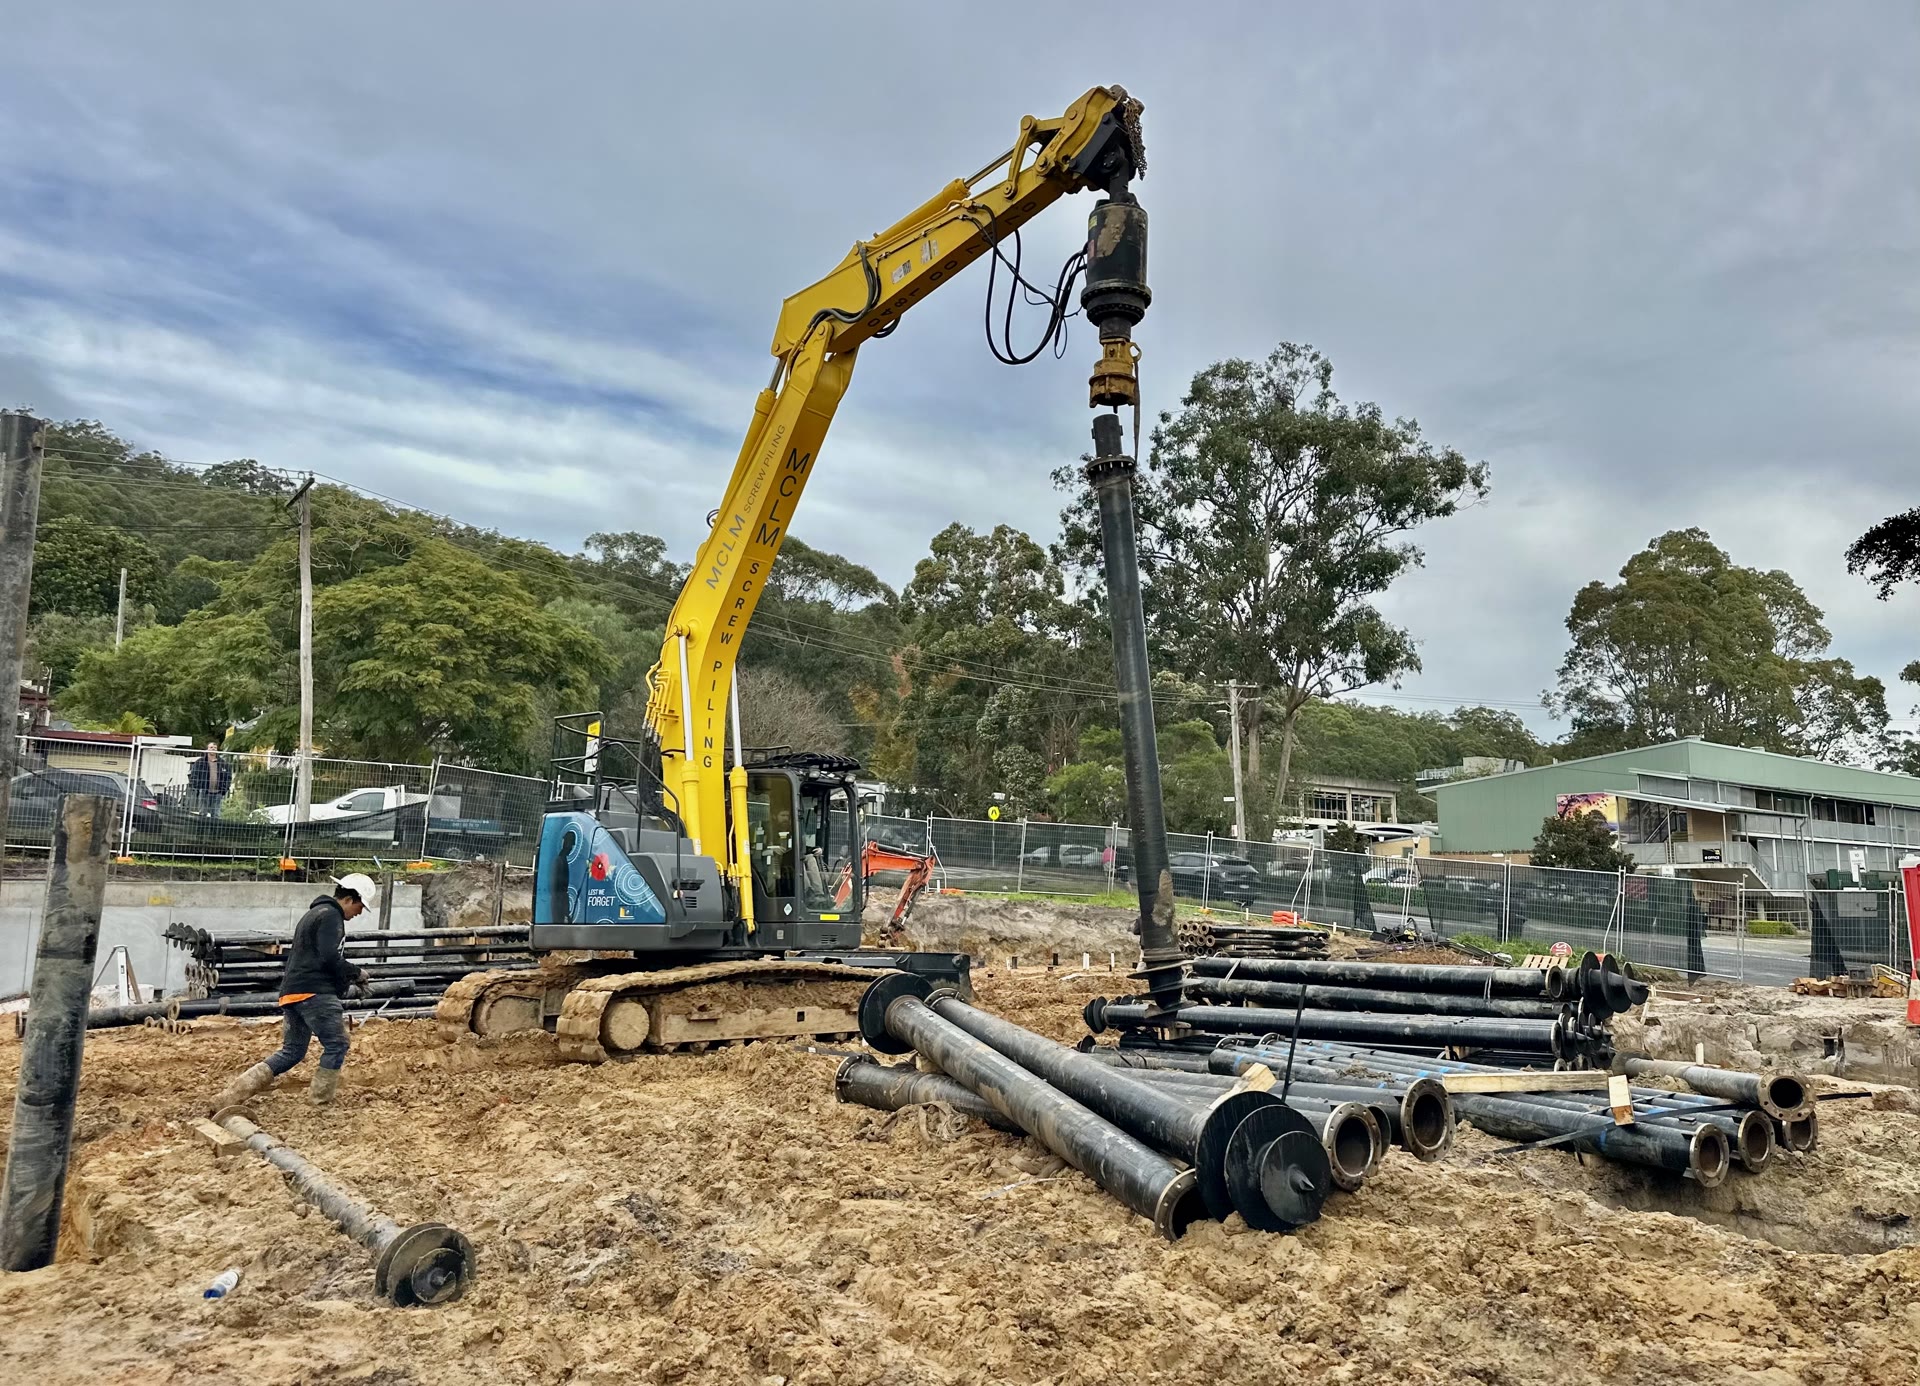
Installation advantage
Installation FAQ
Six common questions about timing, approvals, site impact and permanent use.
Most screw piles can be installed in minutes per pile. A typical residential project can be completed in a single day, compared to several days for traditional concrete footings.
Requirements vary by location and project type. We recommend checking with your local council, your builder and certifier. Our team can advise based on your specific project.
Yes — one of the key advantages of screw piles is that they can be extracted and reused. This makes them ideal for temporary structures, hire buildings, and projects where future site changes are anticipated.
Site preparation and ground disturbance depend on access, soil conditions and the foundation design. Some sites require excavation and spoil removal. Existing landscaping and underground services need to be considered when planning the installation.
Screw piles perform well in a wide range of conditions including soft soils, waterlogged ground, coastal and swamp areas, contaminated soil, and sites with sensitive tree root systems. A geotechnical survey can confirm suitability for your site.
Absolutely. Screw piles are engineered to meet the load requirements of permanent residential, commercial, and industrial structures. Each installation is designed to suit the specific soil conditions and structural loads of your project.
Where it goes next
Follow the full system, from the installed footings to the platform and eventual re-use.